Installation

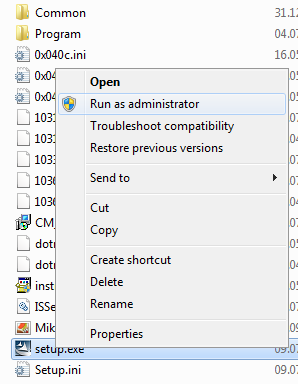
1.)Log on the Client with a user that has at least local administrator rights
2.)If .net 4.5 or higher is installed create a global variable in the OS, name: CM_IGNOREMESSAGE; Value: Yes.
3.)Run setup.exe from the source folder <…>\connectmaster to start the installation, when using Win7 or higher: “run as administrator”
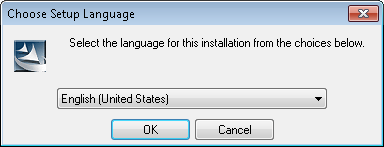
4.) Choose the language and click <OK>
5.) Continue the installation and click <Next>
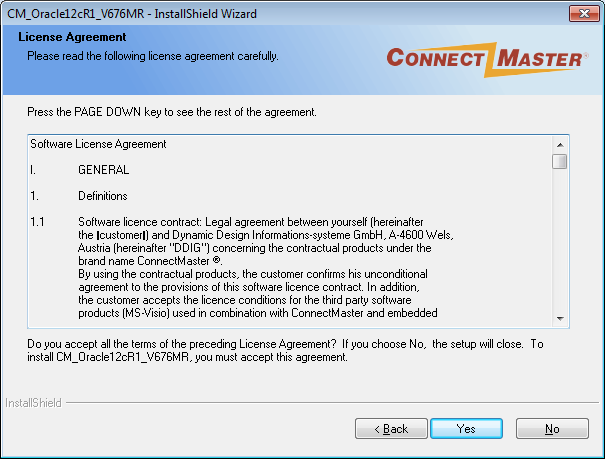
6.)Accept the license agreement and click <Yes>
7.)Choose the location folder of the installation and click <Next>
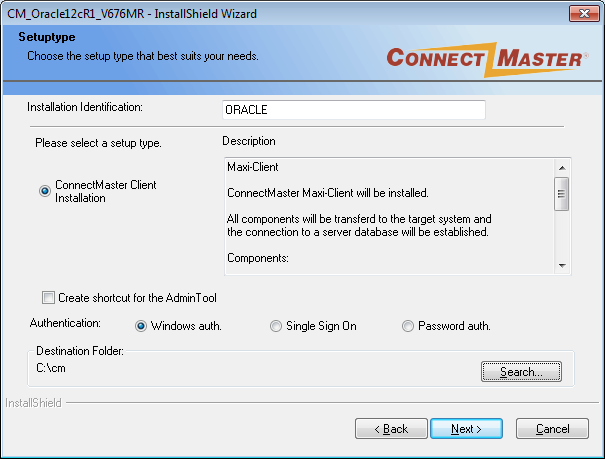
Installation Identification: is formed from the username that started the installation and the date the installation was run. (Leave it as the default or change it to something more general, e.g.: CM675)
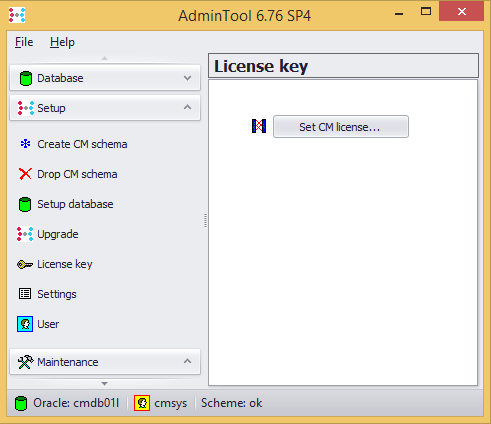
Create a shortcut for the AdminTool: The AdminTool is used to manage the ConnectMaster database. Standard management tasks are: export/import the database, create/delete ConnectMaster users, upgrade the database, verify and fix the database and more.
Authentication: There re are three methods to login to ConnectMaster. Choose the one that fits your needs.
A.) Windows authentication: Oracle use the Windows authentication feature to login to the database. The character / is used to pass through the user credential.
B.) Single Sign On (SSO): With this property a user logs in once and gains access to all systems without being prompted to log in again. The character $ is used to pass through the user credential.
C.) Password authentication: It activates the login window if password authenticated users are used to login into ConnectMaster. After starting the application the login window will be prompt. User and his password has to be typed otherwise the application will not be started up.
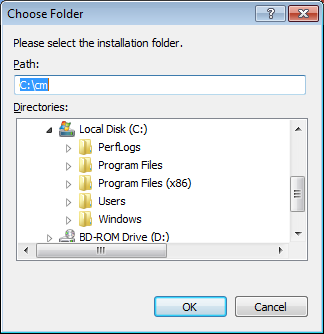
Destination folder: Shows the destination folder where ConnectMaster will be installed. To change the destination folder click on ‘Search …’ to browse to the desired folder.
8.)Check the summary and click <Next>
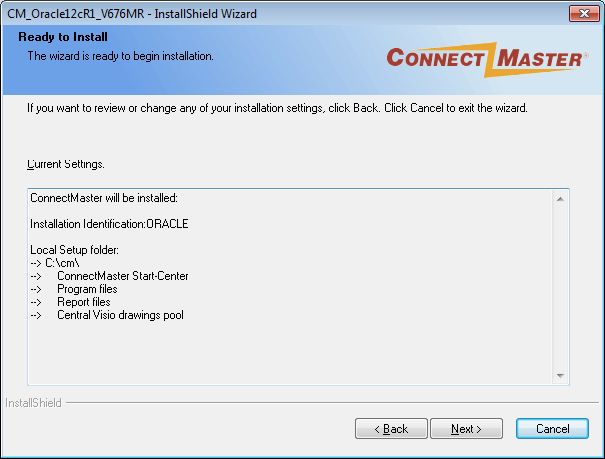
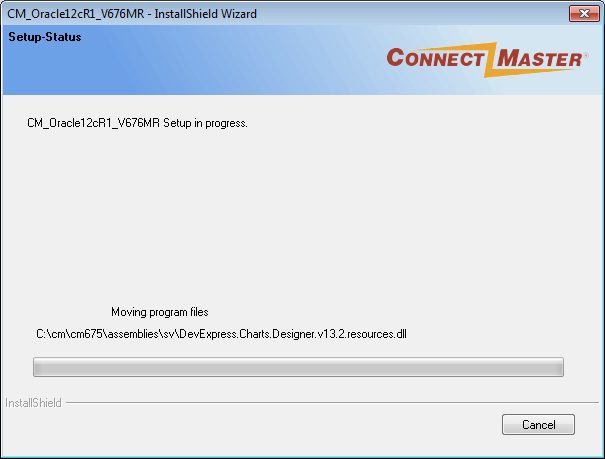
9.)The procedure then starts to copy the files and to install the software
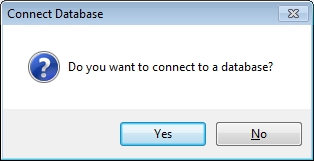
10.)Choose <Yes> to create a connection to the database and start the configuration window. Choose <No> to continue with the installation without creating a connection to the databases. (The ConnectMaster shortcuts will be not created! This can be done later by hand.)
11.)Choose the database server and type the name of the instance (database). Afterwards click <Next>
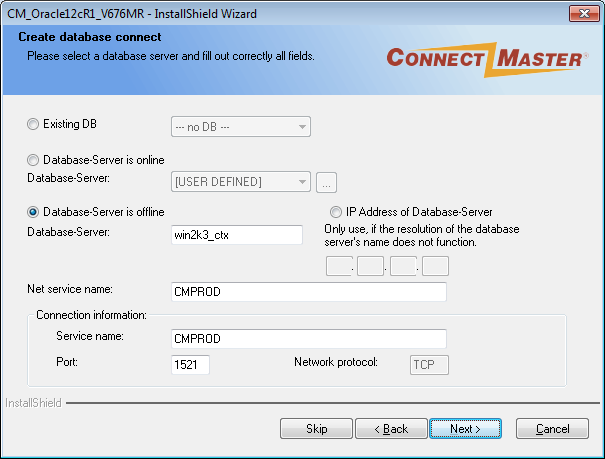
Existing DB: If a previous version of ConnectMaster was installed on the client and a connection to the database exists then use the existing DB option and select a connection from the pull down menu.
Database-Server is online: Click on the icon ![]() to browse for the database server
to browse for the database server
Database-Server is offline: If the database server is offline or can’t be found by the browser (because is not a MS Windows server) then use the offline option and type in the name of the oracle server.
![]()
IP Address of Database-Server: If the oracle server doesn’t have a name and it can only be reached by IP address then use the IP address option and type in the IP address of the server
Net Service Name: Type the net service name. This name is an alias for a database network address
Service Name: Type the service name. This name is the real name of the instance (database) on the database server
Port: Change the port number if the TNS-Listener on the database server doesn’t use the default port number (port 1521). (This port has been defined during the installation of the TNS-Listener on the oracle server.)
The button <Skip> ![]() will quit the configuration window. The connection to the database and also the ConnectMaster shortcut will not be created.
will quit the configuration window. The connection to the database and also the ConnectMaster shortcut will not be created.
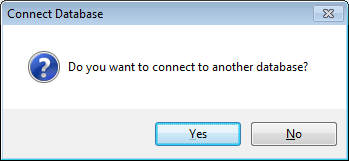
The query to create an additional database connection will pop up. (see step 11).
12.)Choose <Yes> to create an additional database connection. The configuration window will be pop up again. Choose <No> to continue with the installation without creating another database connection.
13.)Click <Finish> to close the installation
(It might be necessary that after the installation a reboot is required. In that case restart the computer)
Note:
If you upgrade from older CM version you have to do the database upgrade in chapter 8.1 and you will need a new licence key from CM support team. For the new key generation support need the old cmstartup.bat, the old license key and the new 4 digit DB serial number from the AdminTool