Create a new instance
Create the TNS-Listener
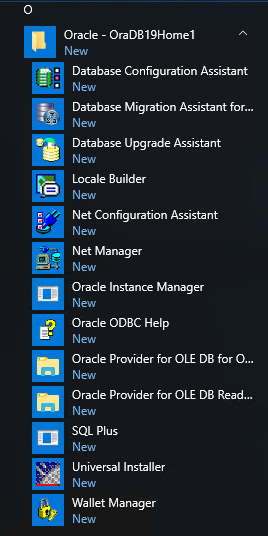
1.) Start the ‚Net Configuration Assistant’
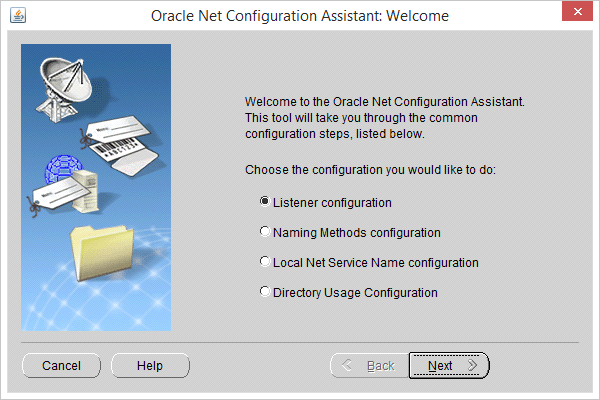
2.) Choose the ‚Listener configuration’
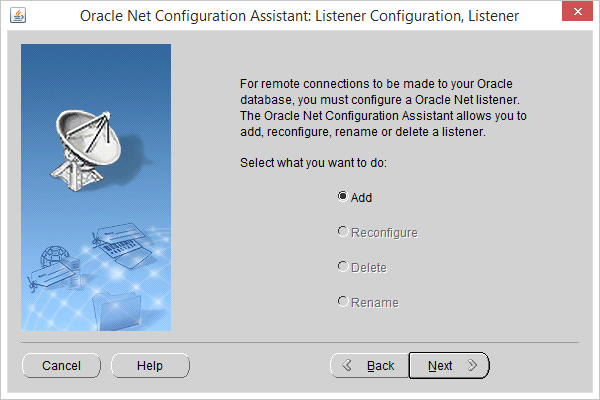
3.) Add the new Listener
4.) Define the Name of the listener (we suggest to use the default name!)
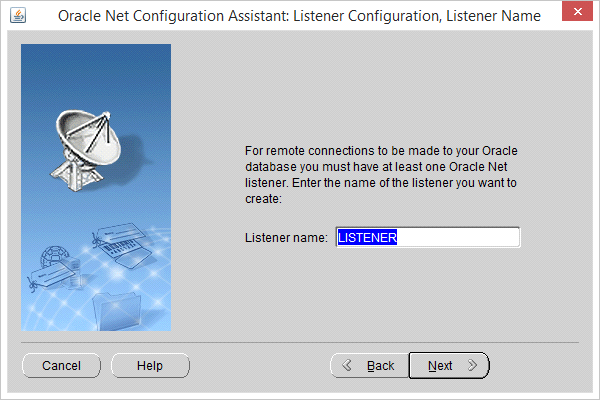
5.) Select the protocol
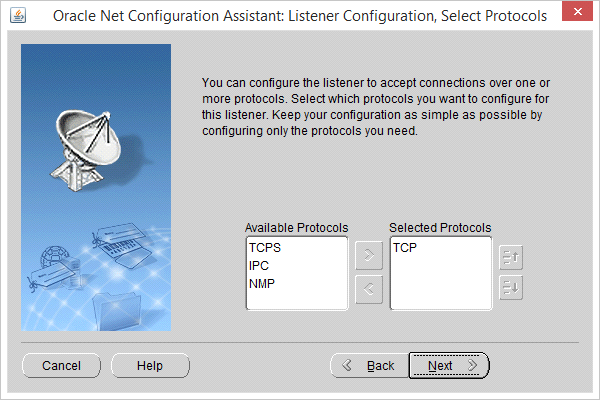
6.) Define the port number (we suggest using the default port ‚1521’)
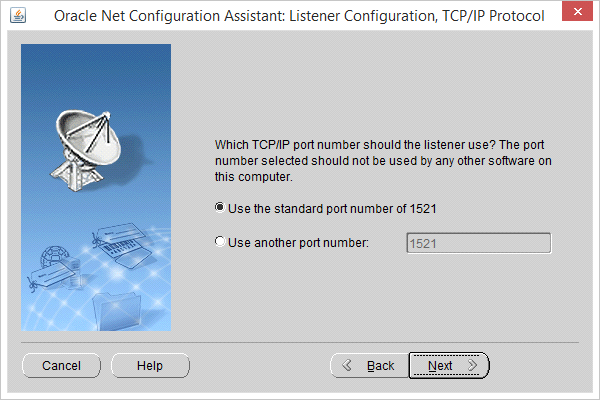
7.) Select <No> -> additional Listener are not needed
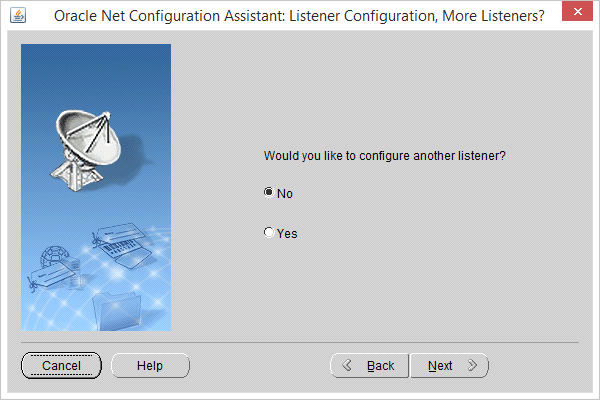
8.) Finish the configuration
Click <Next> and close with <Finish the ‘Welcome’ window
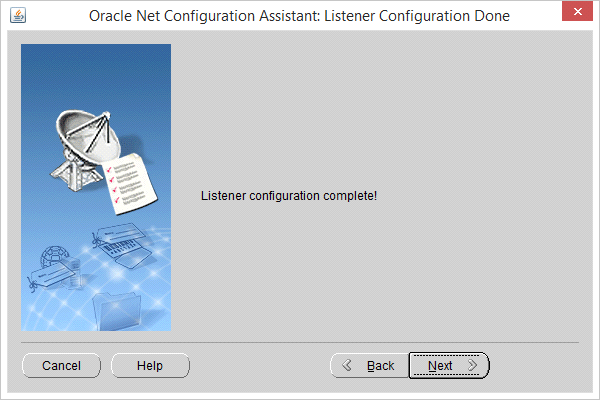
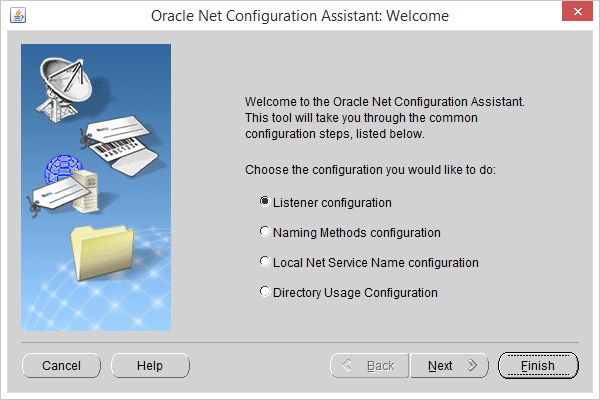
Copy the templates
Dynamic Design created a template to build the new ConnectMaster instance:
cmtemplate_6xx_Oracle19c.dbt
The template has to be copy into the oracle file structure
<disk>:\oracle19\assistants\dbca\templates (<disk>:\ is the drive where the Oracle software is installed)
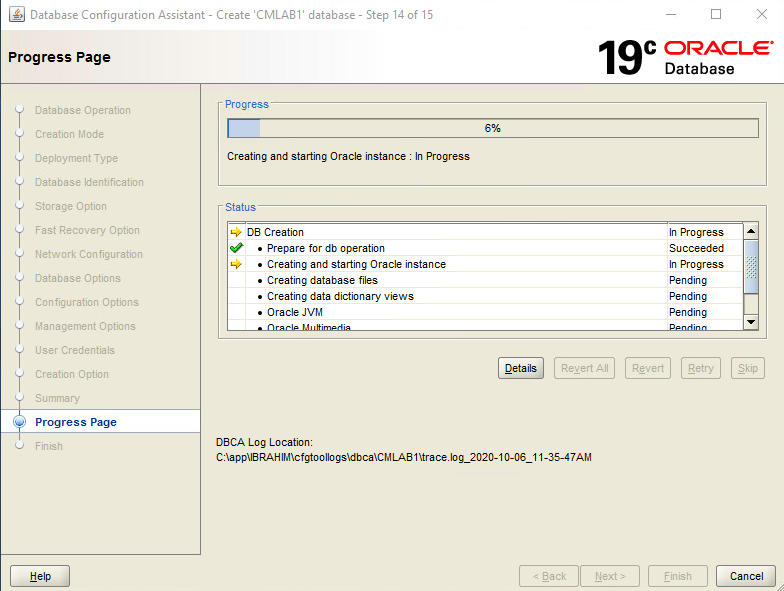
Create the ConnectMaster instance
1.) Start the ‘Database Configuration Assistance’

2.) Choose ‘Create a database’ and click <next>
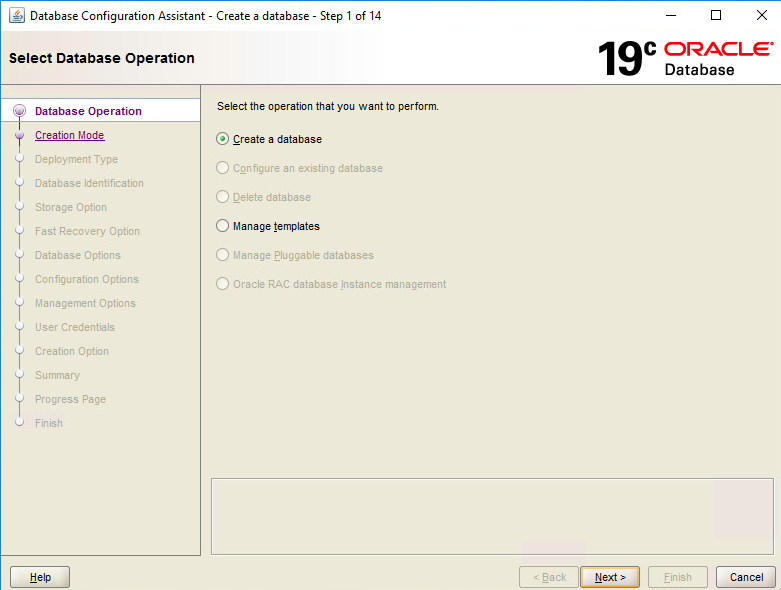
3.) Choose ‚Advanced Mode‘and click <next>
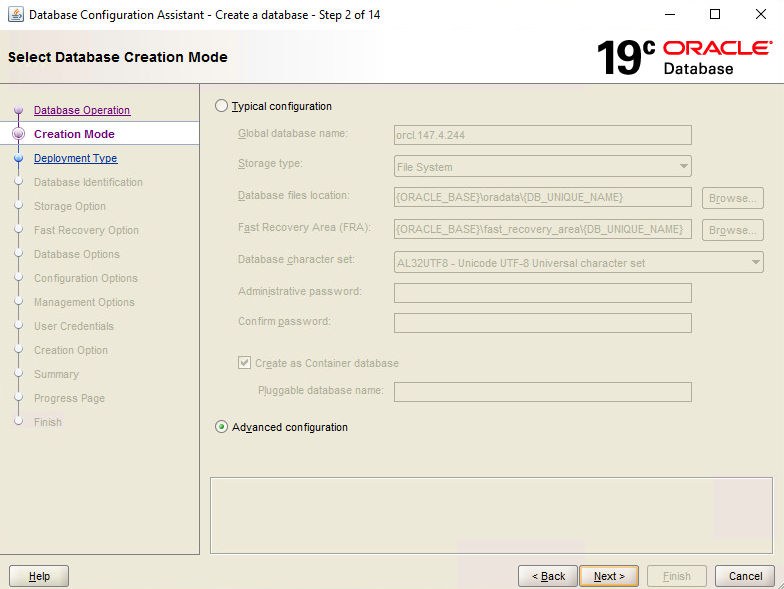
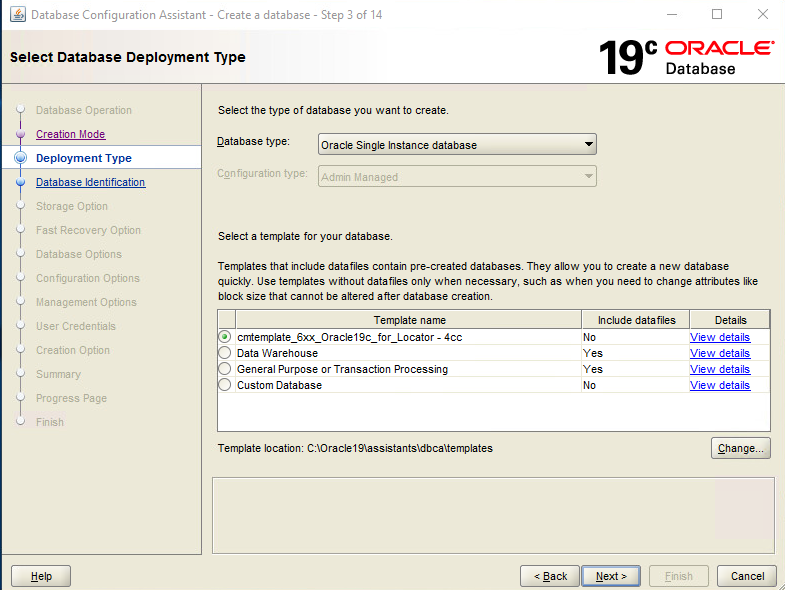
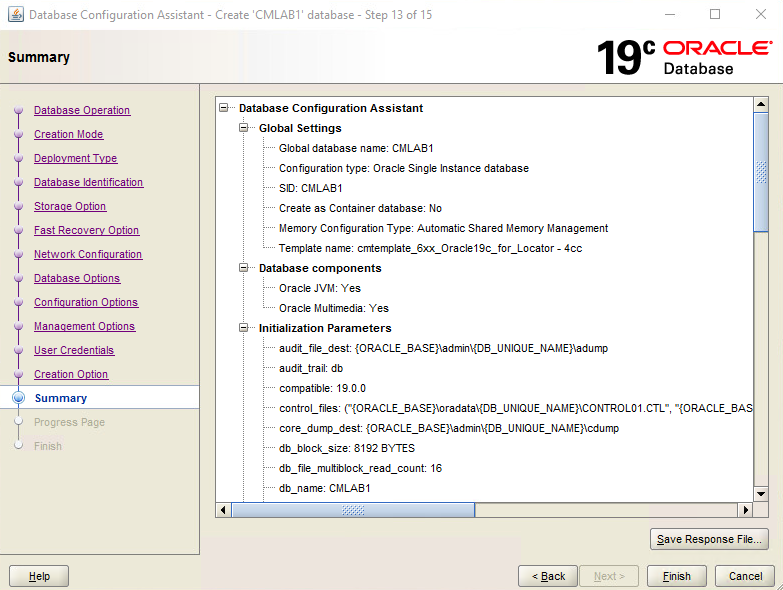
4.) Choose the right template and click <next>
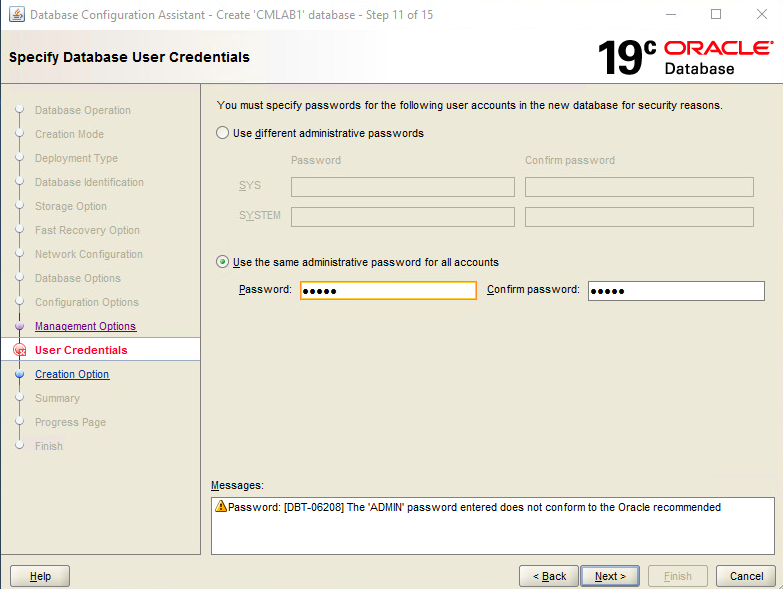
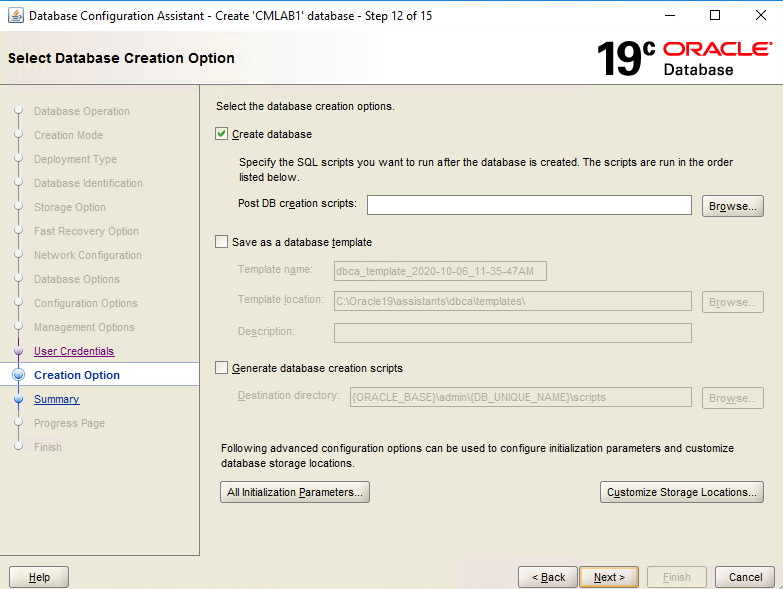
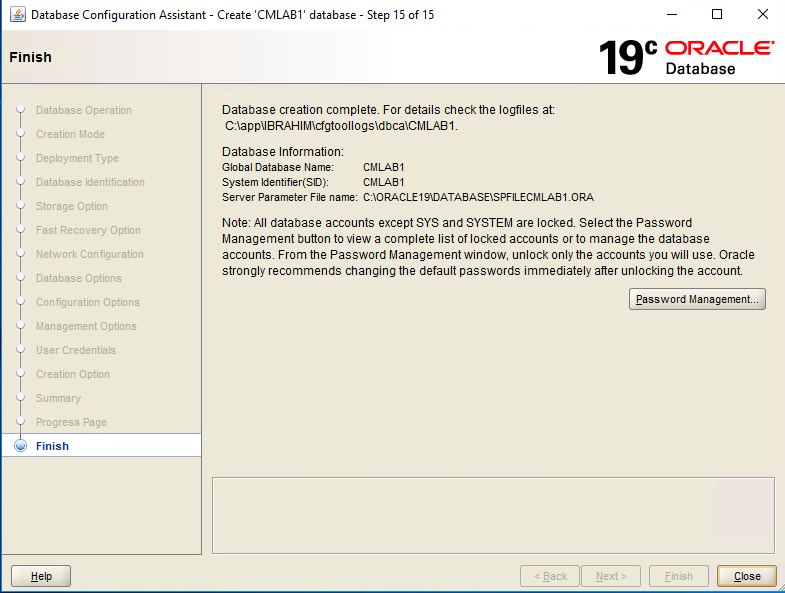
5.) Define the name of the instance (Global database Name and the SID)
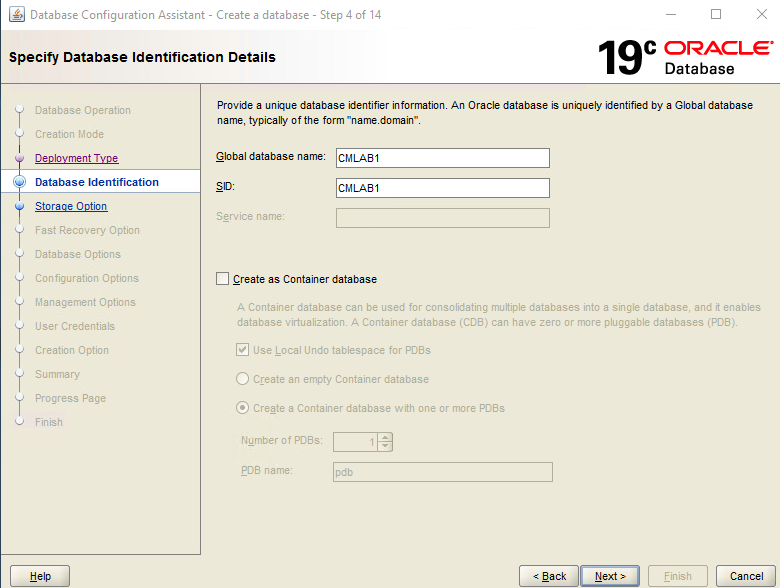
We suggest creating 2 databases: the product DB (cmprod) and the test DB (cmtest)
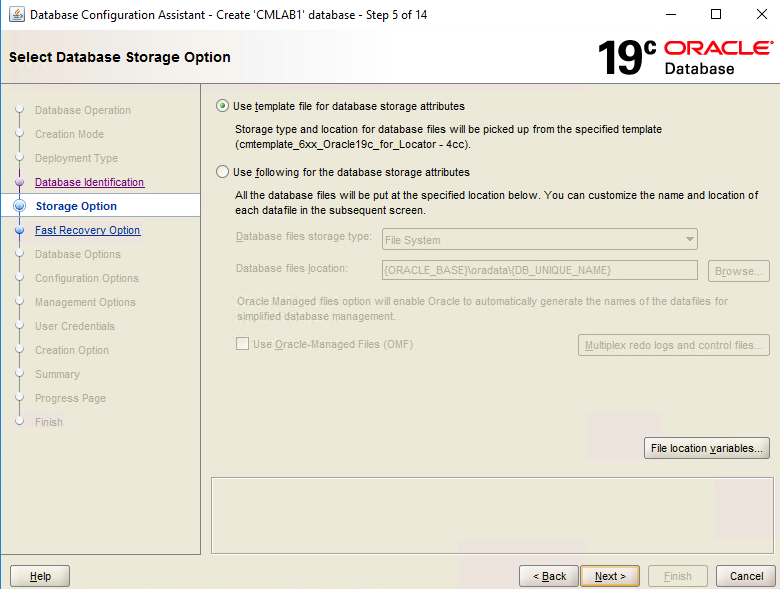
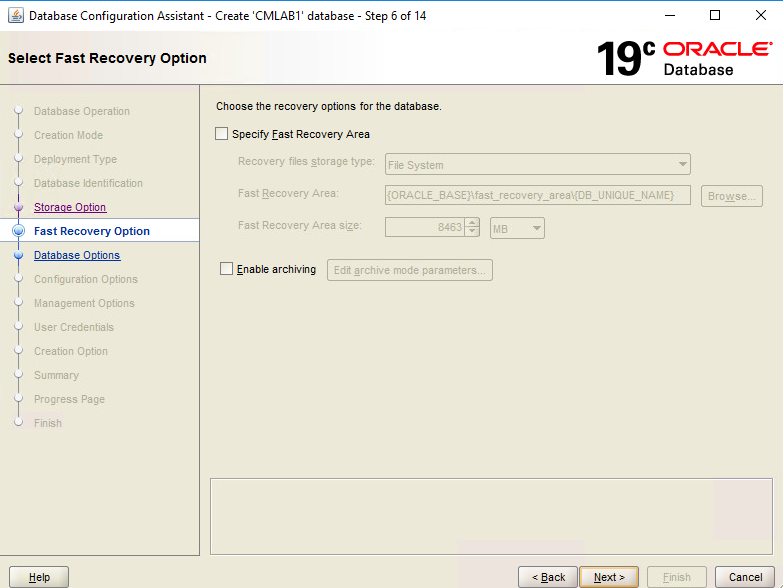
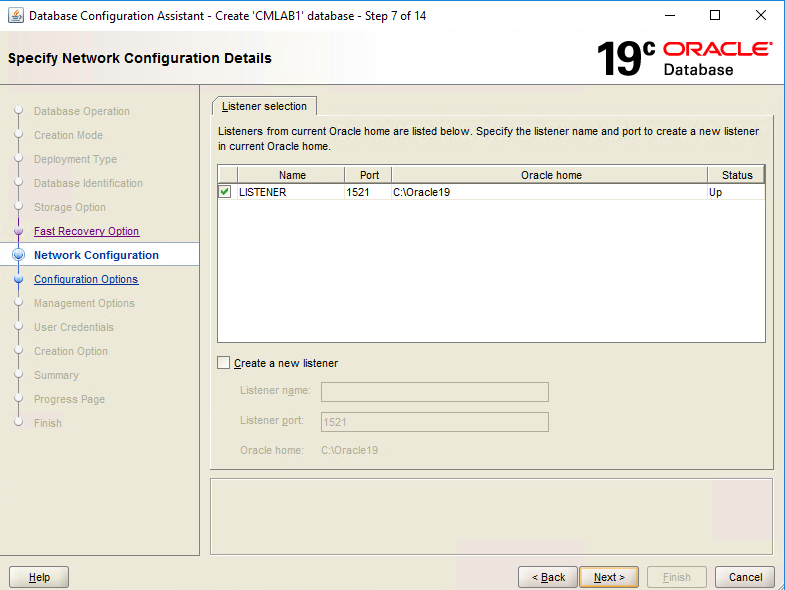
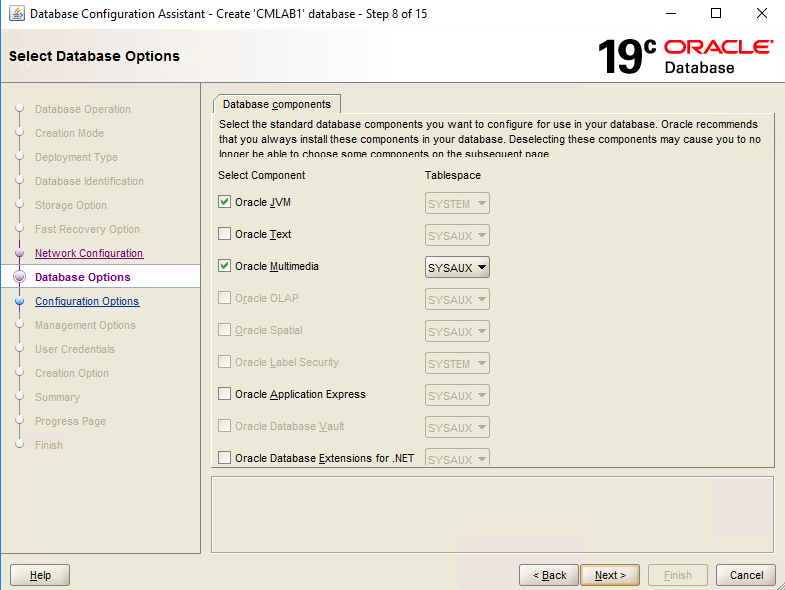
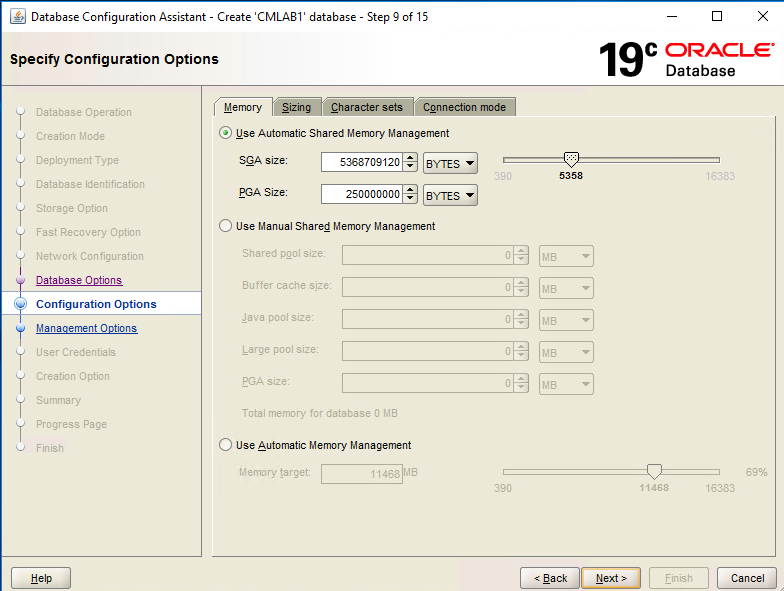
•Note SGA and PGA
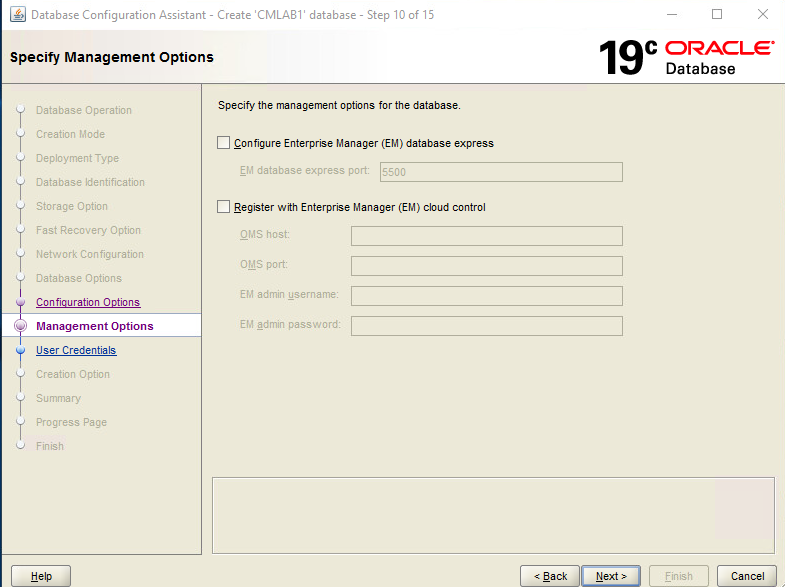
Add the registry key ‚OSAUTH_PREFIX_DOMAIN’
In the Oracle Home of the Registry
HKLM\SOFTWARE\ORACLE\KEY_OraDB12HomeX add the following ‘String Value’ key:
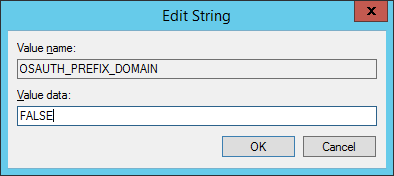
OSAUTH_PREFIX_DOMAIN
The value of the key is: FALSE
(KEY_OraDB12HomeX (e.g. KEY_OraDB12Home1) depends on how many Oracle Homes exist on the server. If there are more Oracle Homes, be sure to select the
right one!)
Caution: Wrong managing the registry can cause serious problem to your system!
| 1.) Open the registry and browse to the Oracle Home folder |

2.) Select the In the Oracle Home folder and press the right mouse button. Choose “New | String Value” to add the new key.
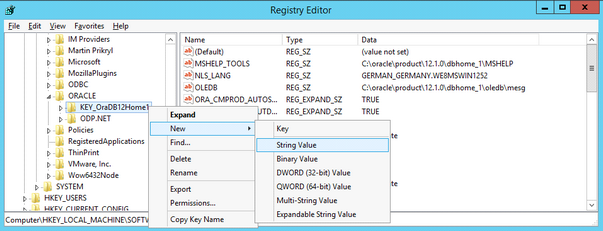
3.) Rename the new “String Value” to OSAUTH_PREFIX_DOMAIN

4.) Double click the new key OSAUTH_PREFIX_DOMAIN and add the value ‘FALSE’
