Set connection points

Step 1 |
Open the shape in Visio and tick the box “ Connection Points” under View
|
Step 2 |
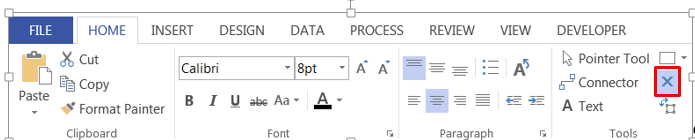
Then activate the connector points tool:
|
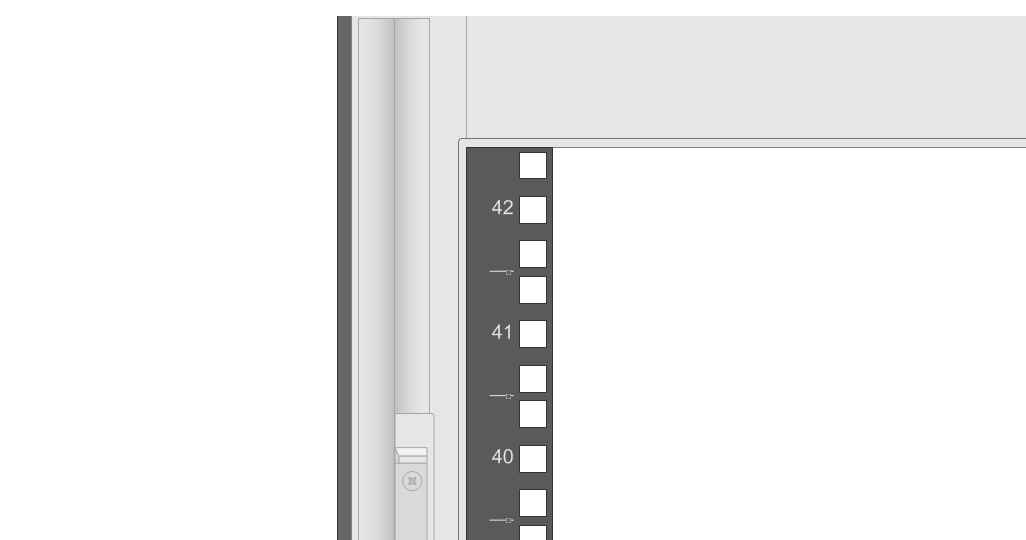
Step 3 |
Now you can see the connecting points and in case you can add a new connecting point with CTRL + left click .
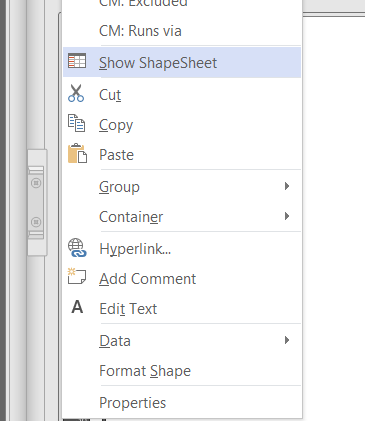
There is a second possibility: setting the connecting points using the so called “shape sheets”. Right click on the rack and select “Show ShapeSheet”(*):
Go in the section “ connecting points” and rename them corresponding to the slot: Please note that the slot in Visio has to be named exactly “Slot_N”, where N is the slot´s number in CM. To do this click on the Visio field under “ Connecting Point” (**) For Example: slot number 10 is going to be named
|
Notes |
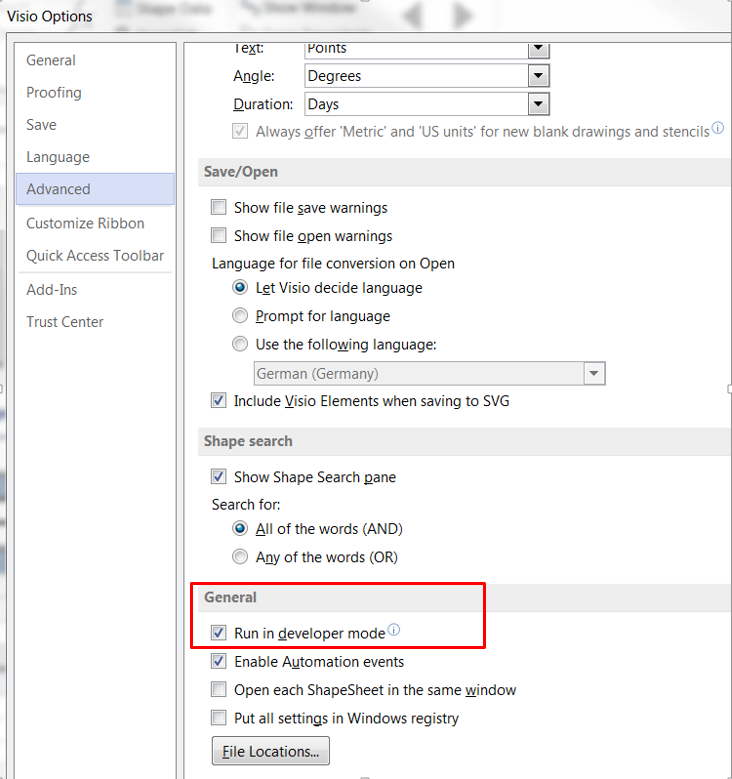
*) please make sure that the development mode in Visio is activated. You can check this under Visio OptionàAdvancedàGeneral
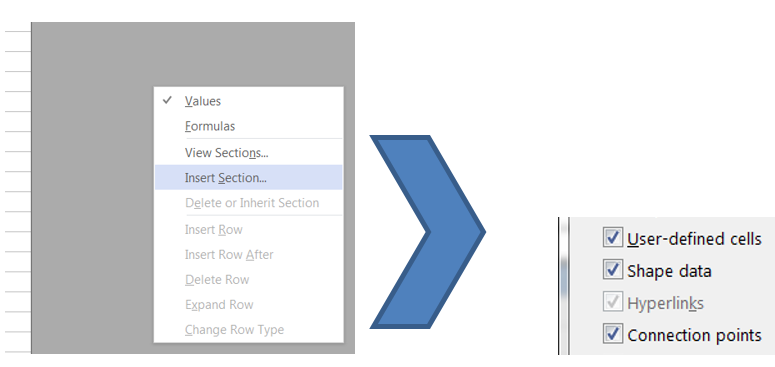
**) If you don’t see this section activate the corresponding section, right clicking on the grey area in the shape sheet, selecting “insert Section” and ticking the corresponding boxes, user-defined cells, shape data and connection points
|