Insert grid
i.Ensure that A3_Detail_Map is the active map window. You can do so by clicking on the A3_Detail_Map in Layer Control.
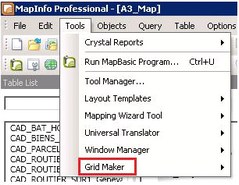
ii.Use the Grid Maker tool which should already be loaded within your MapInfo to create the grid. To check, from main menu bar Tools, the Grid Maker should be available in the dropdown menu.
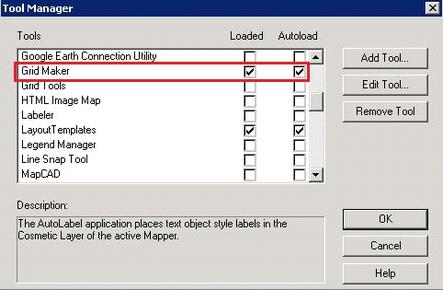
Otherwise, Tools Tool Manager, check the boxes opposite Grid Maker representing Loaded and Autoload. Click OK.
iii.From the toolbar, click button ![]() “Create Grid” (and not Run Mapping Wizard Tool
“Create Grid” (and not Run Mapping Wizard Tool
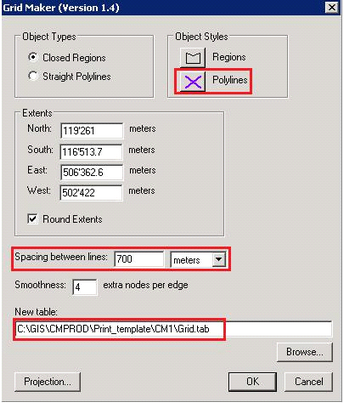
which also has the same button). Do not choose Tools Grid Maker Make Grid as this will populate the grid on the entire A3_Detail_Map window. On the map, the arrow cursor will change to a “+” cross cursor. Drag the cursor over the map area you want to print. The Grid Maker dialogue box opens. Set the values for Spacing between lines and use meters as the length unit. Set the path where you want to save the grid table. You could also change the styles of the grid line by editing the Polylines settings. Click OK.
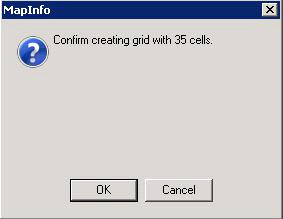
iv.A confirmation box appears giving you information on how many grids or cells is to be created. Click OK to start the process.
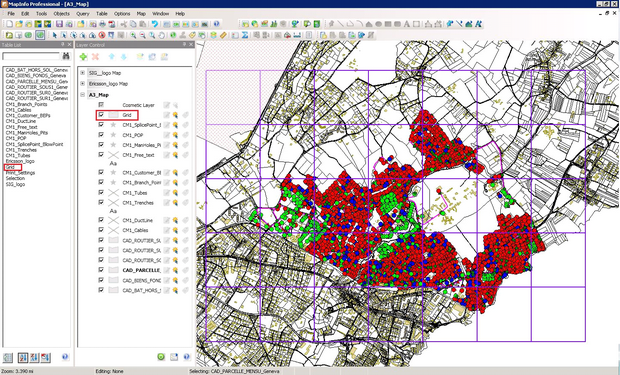
v. The grid will be drawn on the map window, and the table added to the Table List.
vi.Click button ![]() “Select” to deactivate the Create Grid feature.
“Select” to deactivate the Create Grid feature.
vii.In the Layer Control, turn the automatic labeling on for Grid table by clicking button
![]() “Automatic Labels”.
“Automatic Labels”.
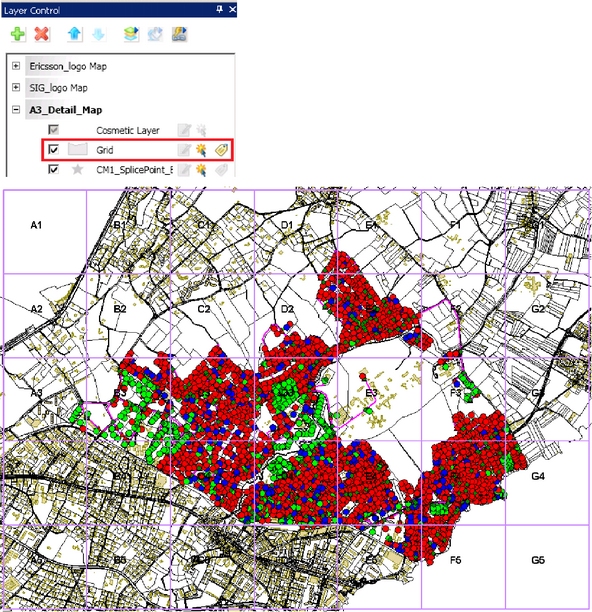
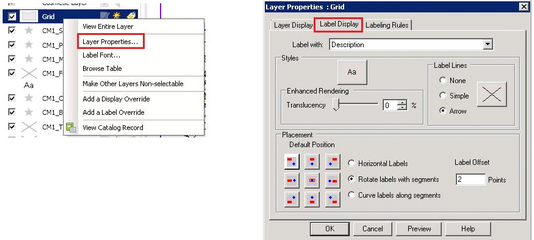
viii.To change the label display settings, right clicking on the Grid layer and select Layer Properties. The Layer Properties dialogue opens, then select Label Display.
