DSE Service Installation

Installation:
DSE Manager related DSE Service version will be Deployed with Each DSE Manager release.
Download the given DSE Manager installation zip file and extract it.
|
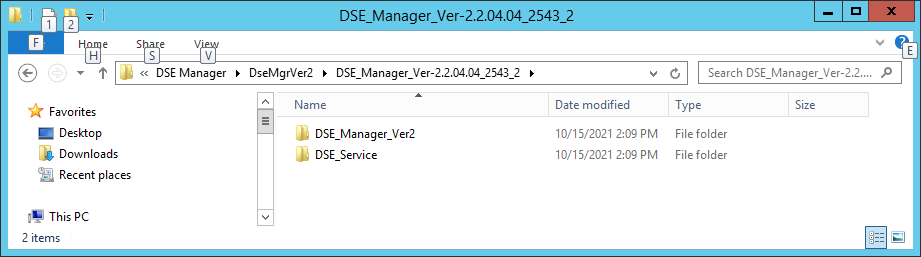
Move files
Copy the DSE_Service file and place it next to where DSE Manager going to be(ideal).
If existing DSE_Service version is active , have to uninstall the previous version.(Please refer Uninstall the service section in this documentation)
DSE_Service.exe.config related change:
(Please make sure you are not overriding this config file, just change the values)
Following elements must be modified as per the customer location setup
1) <!--AppNmae-->
<add key="DSE_ManagerPhyPath" value="C:\DSEManager\DseMgrVer2\DSE_Manager_Ver2_IIS\"/> this value should have the DSE_Manager Installation location
2) <connectionStrings>
<!--Database Connection-->
<add name="CM_DB_Name" connectionString="//x.x.x.x/dev01" />
</connectionStrings>
Service Installation:
1.Open command prompt with Administrative rights
|
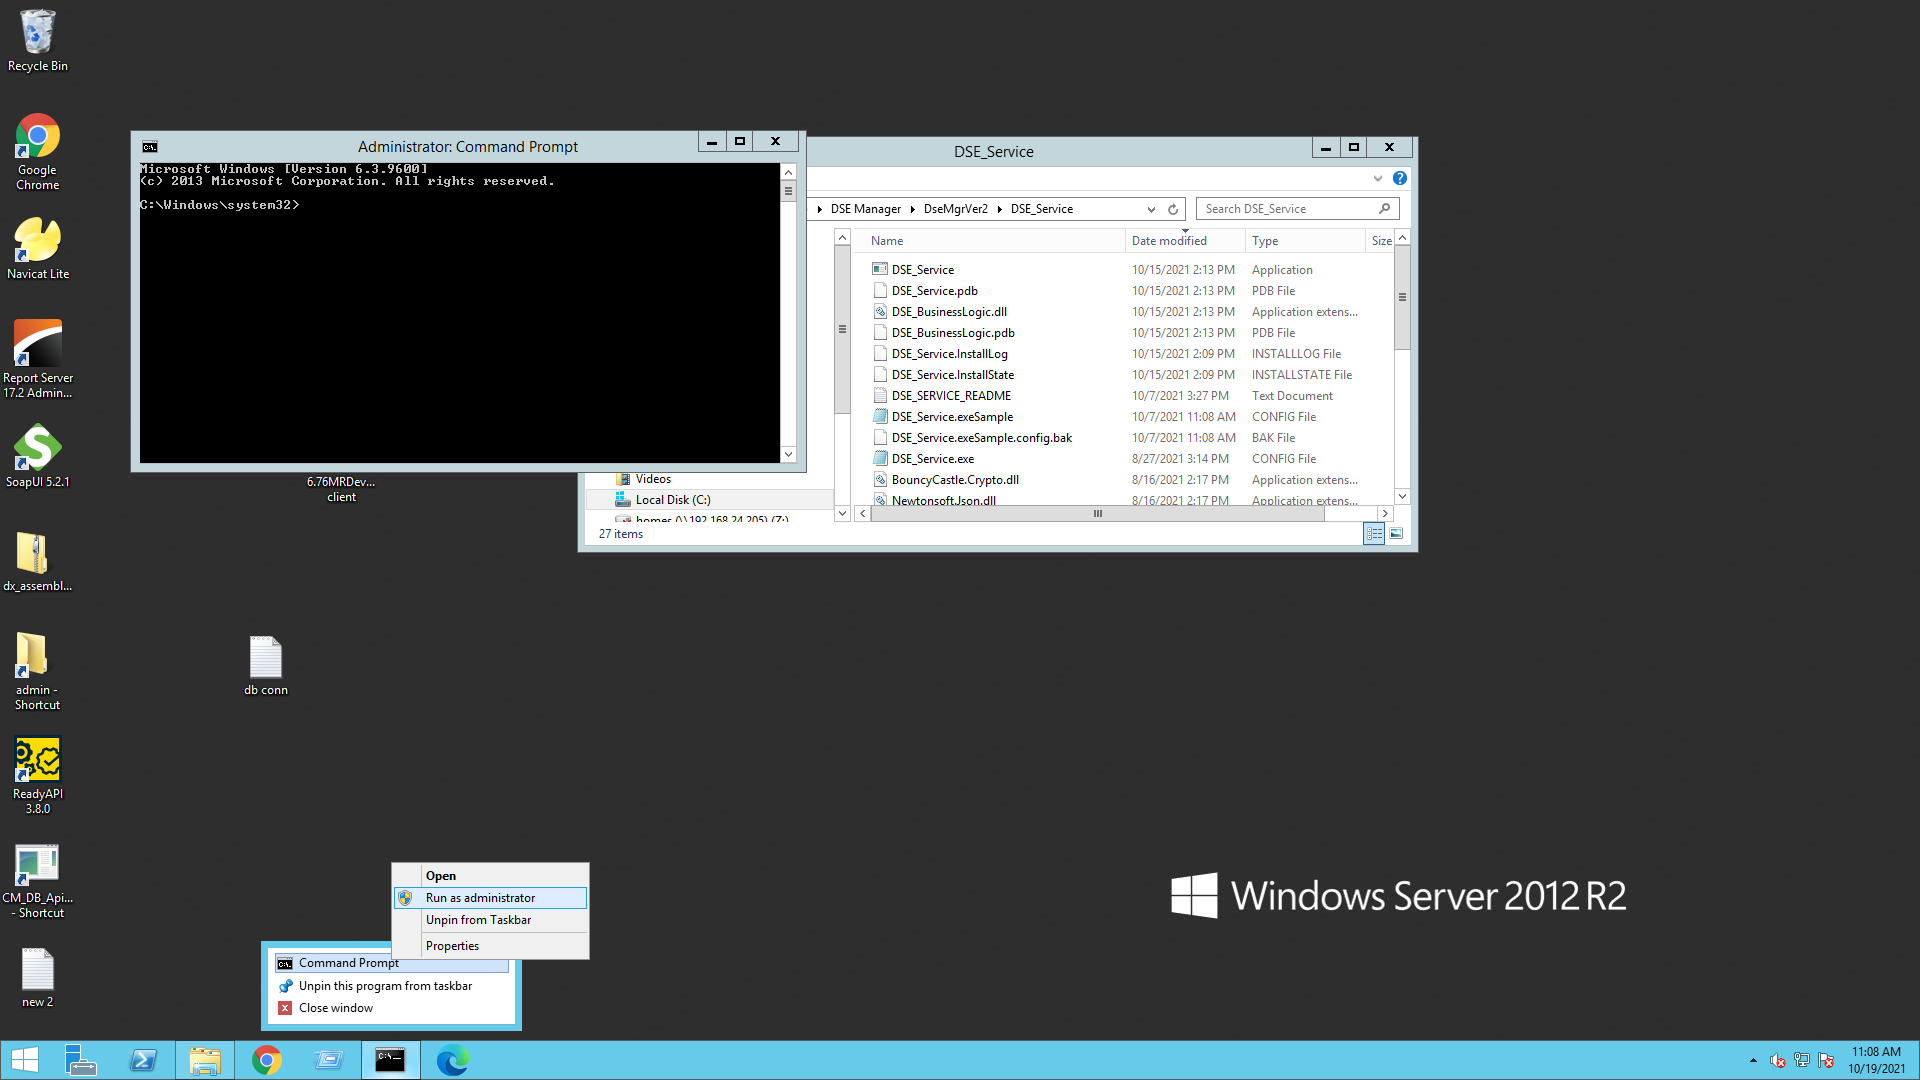
2. Go to the following directory, so you can use the “installutill.exe”
%WinDir%\Microsoft.NET\Framework\v4.0.<current version>
EX:
cd C:\Windows\Microsoft.NET\Framework64\v4.0.30319
Type following command
InstallUtil.exe "<DSE_Service path>\DSE_Service.exe"
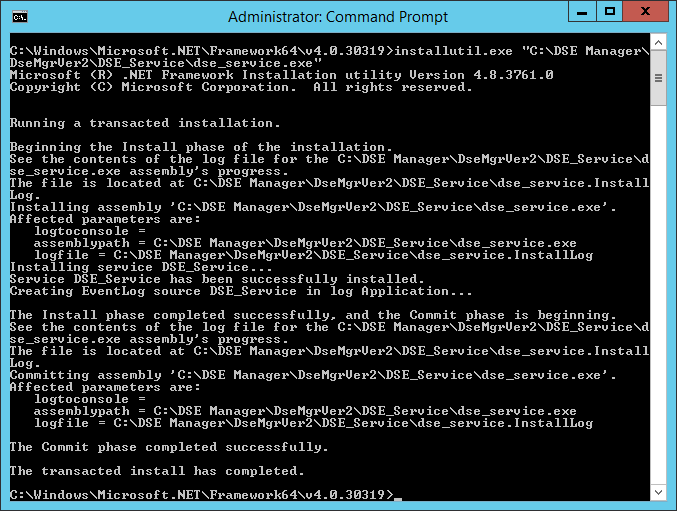
Once installation successful you will get the following message
|
Start the service
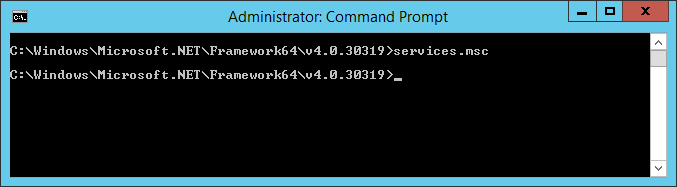
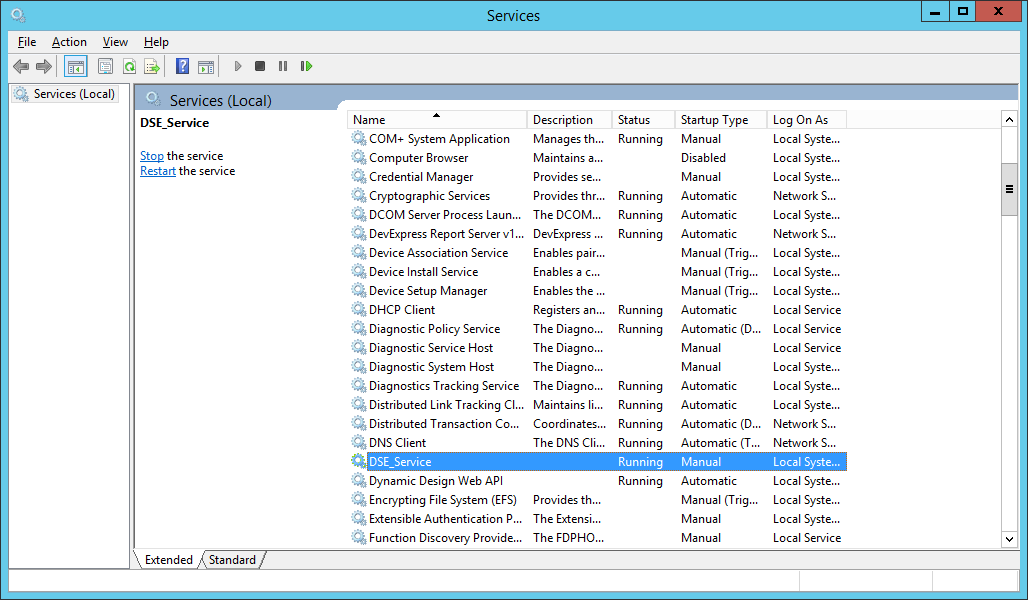
1.Open the Windows Service List.
An easy way to open this list is to open a Command Prompt and execute the command
services.msc
|
Go to DSE_Service and start the service
|

To check the service instance is active, can browse the DSE Service end point wsdl in the browser. Service endpoint available at=> http://localhost:8095/DSE_Service
|
