Oracle Data Client Installation

In the CM Installation package you find the Oracle 19c client install package.
a.) Run the cmd.exe as Administrator
b.) cd to the location of the Oracle setup.exe folder
c.) Run the following command
setup.exe "ORACLE_HOME_NAME=OraClient19c_ConnectMaster"
On the setup menu, select the Custom installation option.
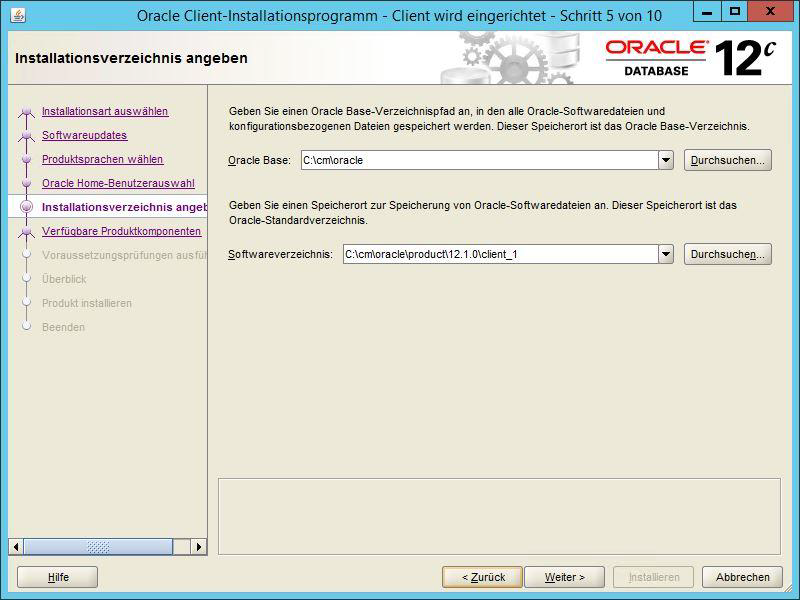
As installation directory we suggest the following:
o Oracle Base: “C:\cm\oracle”
o Software Directory: “C:\cm\oracle\products\19.0.0\client_1”
• Oracle Database Utilities
• SQL*Plus
• Oracle Net
• Oracle ODBC Driver
• Oracle Data Provider for .NET

Finish the installation process.
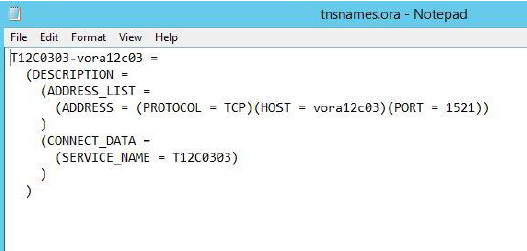
In the Oracle Software directory (specified in the installation process) under /network/admin create (if it does not exist yet) a file named tnsnames.ora and edit the connection properties of your desired destination database.
Register the Oracle DataAccess.dll
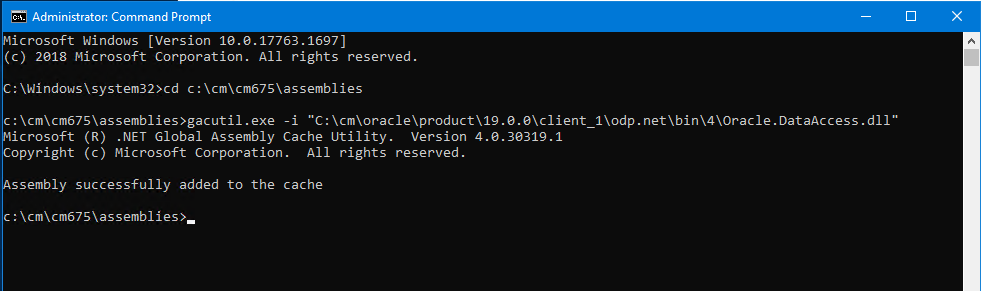
a.) Open a cmd.exe as Administrator
b.) Change to the ConnectMaster Assemplies directory
cd C:\cm\cm675\assemblies
c.) Register the dll using the following command
gacutil.exe -i "C:\cm\oracle\product\19.0.0\client_1\odp.net\bin\4\Oracle.DataAccess.dll"
NOTE:
If the Connect master Client has not been installed On the Server where DSE manager going to be Installed, Connect mater Probing Files need to be copied to Both DSE Manager folder and DSE Service folder.

Once the files copied to both folder enable “<probing privatePath="dx_assemblies;cm_assemblies;3party_assemblies" />” Under <Runtime> <assemblyBinding> element
In web.config On DSE Manager and app.config in DSE Service.
