Assign Virtual Preconnect Port to Physical Port

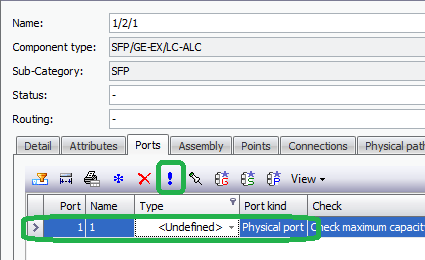
A VPP can be assigned to a physical port from the port details view of the physical port to be assigned. The port details view is accessed by highlighting the port and opening its details view from
•the Ports tab of the Network Interface / Card details; and
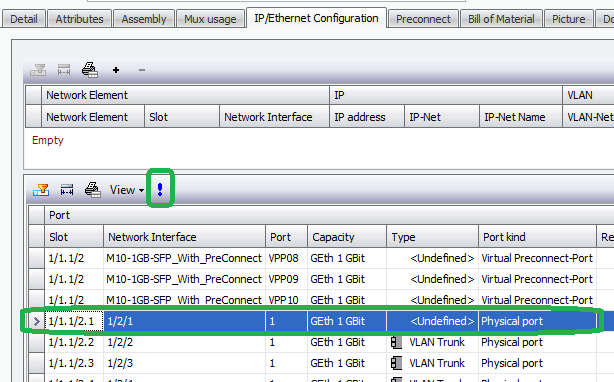
•the IP/Ethernet Configuration tab of the Network Element / Mux details.
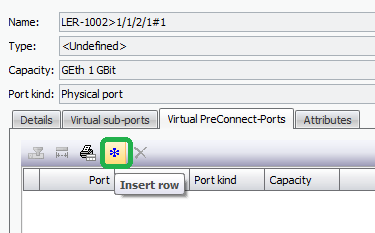
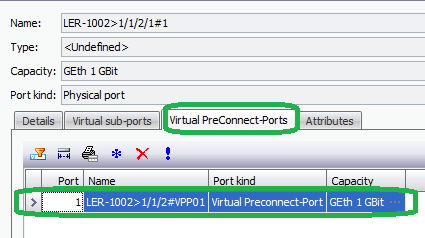
In the Virtual PreConnect Ports tab of the Port detail view, click on the “Insert row” button.
Alternatively, a VPP can be assigned directly from the Ports tab of the Network Interface / Card detail via the „view“ option to show virtual ports. To enable, click on the “view” drop-down, and select “Virtual ports”.
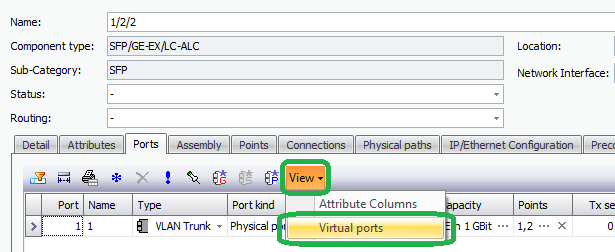
This enables additional columns, and a VPP can be assigned to a physical port via the “Virtual Preconnect Port” field.

The resulting pool view shows the list of VPP’s available within the same device. To create the association between the port and the VPP, select the appropriate VPP and then “OK” to apply.
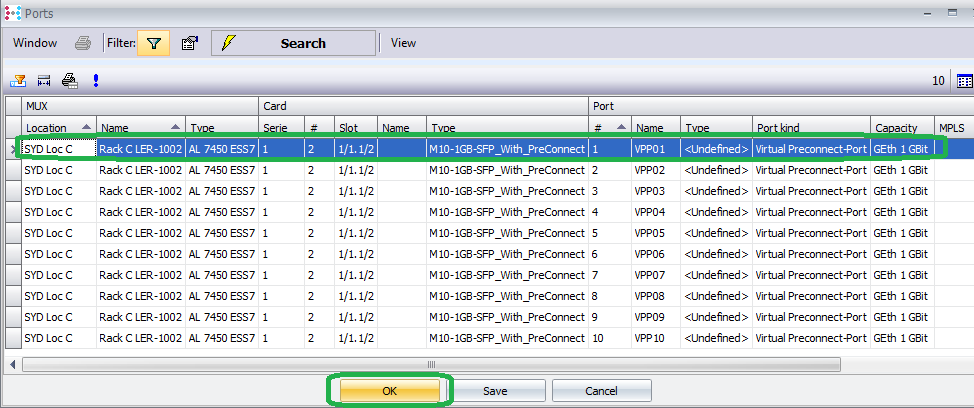
Hint: Only one VPP is allowed to be assigned per physical port.
The resulting Port details view shows the associated VPP.
The IP/Ethernet Configuration tab of the Network Element / Mux detail view shows the referenced physical port in the “Reference Port” field for the VPP.
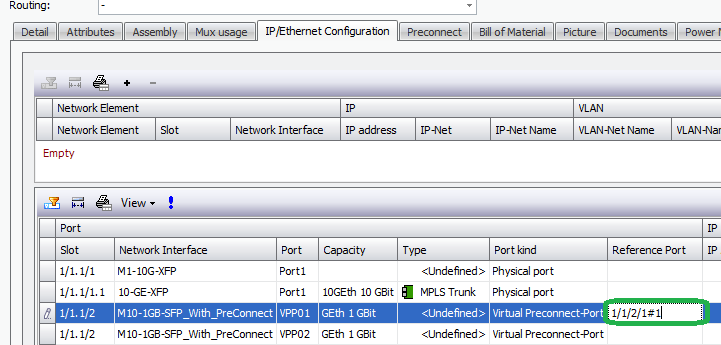
Similarly, in the Ports tab of the Network Interface / Card, with the Virtual Ports view option enabled, the referenced VPP is visible against a physical port, and as well a physical port is visible against a VPP.

