Element shape

This section illustrates how a user-defined master shape for a ConnectMaster element can be created based on a step-by-step example: |
||
The following master shape needs to be drawn for a terminal strip:
Picture: User-defined master shape “Terminal strip” |
||
1.Click on the name bar of the stencil in which the new master shape is to be inserted with your right mouse button and activate it in the now opened “Edit stencil” menu.
|
||
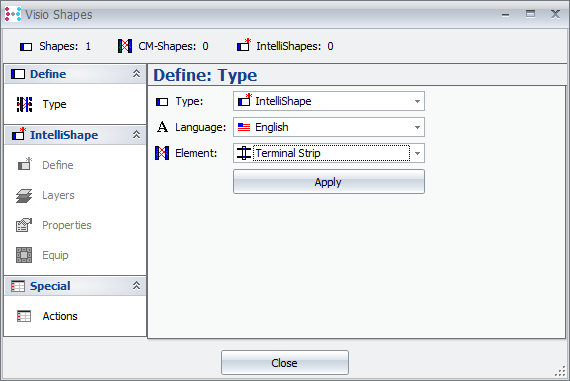
1. Draw two rectangles on the drawing sheet, whereby one must be filled with a filling pattern. 2. Group these two rectangles (function “Group“ in “Shape / Grouping“ menu). 3.Select the grouped shape and - via the “CM / Define Shape“ menu - define as: |
||
|
||
1.Select the sub shape that will contain the CM text and define as CM text via the menu “CM / Define / Define Shape“:“Special / Actions“. |
||
1.Position connection points on the shape. (Please note!! Activate „View Connection Points“) Drag the finished shape into the stencil; save the stencil. The stencil now contains the new master shape. |
||